The Concrete Driveway Resurfacing Process, Start to End
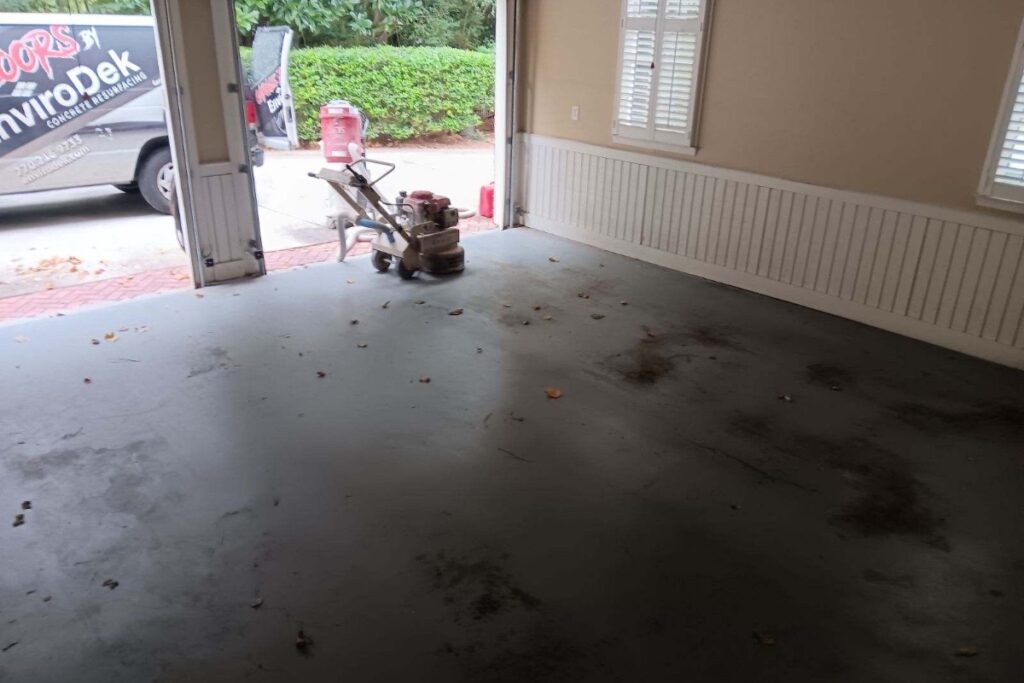
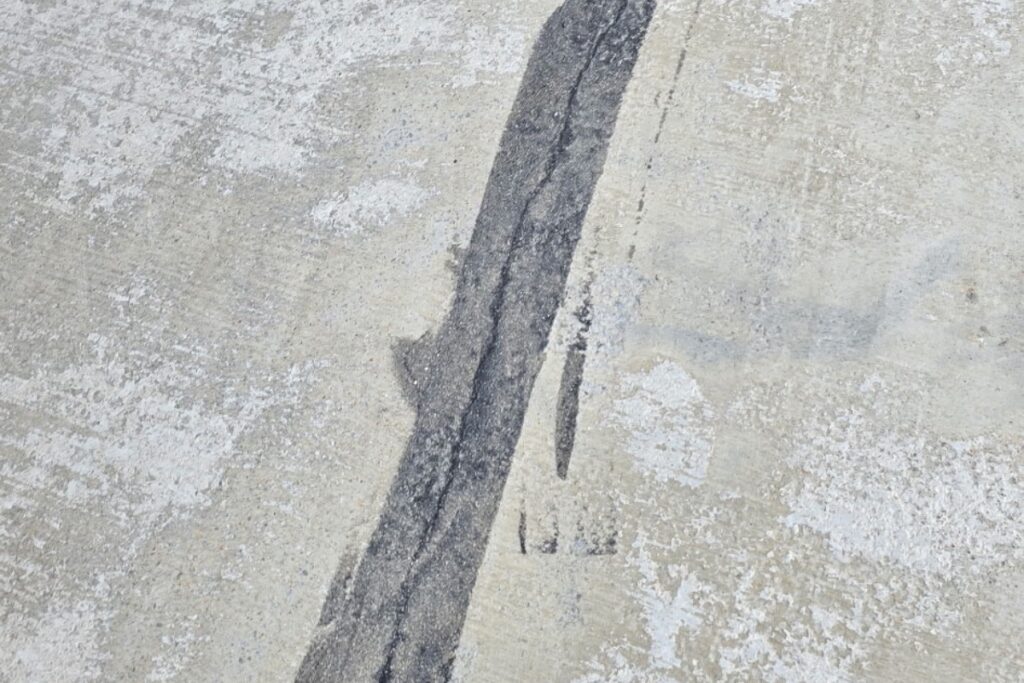
Concrete driveway resurfacing is a job most homeowners buy once and never watch closely, which is unfortunate, because every stage that matters gets covered by the next one. By the time the drive looks finished, there is no way to inspect the two decisions that determined how long it will last. Here is the whole sequence, and the four points where a cheaper job saves money that you spend again later. Stage one: what happens before the crew arrives The assessment comes first, and it should have settled whether resurfacing is even the right job. That question is answered in resurface or replace, and it is not a formality: an overlay on a moving slab fails along the same lines the original did. Assuming it is the right job, the practical preparation is yours. Vehicles come off the drive for the working days and the cure period, which is longer than people expect, so alternative parking has to be arranged in advance. Anything stored on or beside the drive moves. Planting overhanging the edges gets cut back so the crew can work to the edge rather than stopping short of it. And anything buried in or beside the drive, irrigation lines, low voltage lighting, utility covers, gets pointed out before the sheeting goes down and hides it. Details on the service itself are on the driveway resurfacing page. Stage two: the concrete driveway resurfacing prep nobody sees This is where most of the hours go and it is the first thing a cheap bid removes. The drive is cleaned, then prepared mechanically. Shot blasting is the usual choice on a large flat area because it covers ground quickly and produces a consistent profile. Diamond grinding handles edges, tight corners and anywhere a shot blaster cannot reach. Both do the same job: they remove the weak surface layer, take off old sealers, coatings, paint and tyre rubber, and leave a texture the new material can key into. Pressure washing does none of that. It removes dirt. A drive that has been washed and coated looks identical on day one to a drive that was blasted and coated, and it is a different job entirely. Every overlay manufacturer specifies the profile their product needs, and the specification exists because the bond depends on it. Two things tell you it was done properly. The whole drive looks uniformly dull, with no glossy patches anywhere, and the dust extractor has been working hard. If any part of the drive still shines, that part was skipped. Oil and grease need dealing with separately. Contamination that has soaked in will keep coming back through a coating, so the affected concrete gets degreased and, if the contamination is deep, cut out. Stage three: repairs and joints With the surface open, the real condition of the concrete is visible for the first time, and any hollow or unsound areas that the assessment missed get found here. Those are cut out and rebuilt. Then the cracks. Each one gets classified before it gets treated, because the treatment depends entirely on what it is: static cracks are routed out, filled and ground flush, while working cracks are treated as joints. Getting this wrong is the most visible failure in driveway resurfacing, because the old crack pattern reappears through the new surface within a season. The categories are set out in what the cracks mean. Control joints are the same principle at a larger scale. The joints cut into the original slab exist because the concrete moves, and it will keep moving there. So the joints get carried up through the new surface and cut in the same lines. A finished driveway should still show its joints. One that does not is one where somebody decided a smooth unbroken surface looked better, and that decision has a season or two of life in it. Edges and the apron get attention here too, and they are the part most often left out of a scope. That is covered in the edge and the apron. Stage four: the overlay itself A bond coat goes onto the prepared, clean surface first. Then the overlay is placed, usually in sections with a wet edge so there is no cold joint in the middle of the drive, and worked to the chosen finish while it is still open. Texture matters more on a drive than people expect. It has to grip a wet tyre and a wet shoe on a slope, and it has to be coarse enough not to become slippery in a Georgia summer where shaded sections stay damp. Ask which finish is being proposed and why it suits the slope, the shade and the traffic on your particular drive. Stage five: cure, and the part homeowners get wrong The surface stops feeling wet long before it has reached strength. Foot traffic comes back first, vehicle traffic considerably later, and turning a wheel on the spot or parking anything heavy later still. Point loads are the real risk: a jack, a trailer tongue, a dumpster leg or a delivery pallet concentrates far more load into a small area than a car ever does, and that is what leaves permanent marks. What to do and not do in that window is set out in the first thirty days. Weather, and why the schedule moves Summer storms here arrive fast and a fresh surface does not tolerate rain, so crews start early and finish early through the hottest months. Heat also shortens working time, which means smaller sections and more crew. Cool nights in late autumn slow or stop the cure rather than merely delaying it, and overnight temperatures matter as much as daytime ones. The seasonal picture is on the best time of year to resurface concrete in Georgia. What a good proposal contains The preparation method by name and the target profile. What happens to cracks, stated by category. Whether control joints are carried through. Whether the edges and the apron are in